Hi Guys, In the last article, we learned about How to add on click React-navigation 5.0 header react native, in this article will learn about header onPress react-navigation 5.0. we are going to create a project with react-navigation 5.0 with two screens home.js and details.js and customize header using navigation.setOptions in React.useLayoutEffect, let’s start with an example

1. Create a new project
To know more about react-navigation 5.0 check this post to learn step by step installation and how to use react-navigation 5.0, setting up App.js, navigation from one screen to another and now will see how to navigate from header button
react-native init ProjectName
2. Install React-navigation 5.0
Install react-navigation using the following command with support libraries
npm install @react-navigation/native
Run the following command for supportive libraries
npm install react-native-reanimated react-native-gesture-handler react-native-screens react-native-safe-area-context @react-native-community/masked-view
3. Screens
Create home.js and add following code in it
import React from "react";
import { StyleSheet, View, Text, TouchableOpacity } from "react-native";

const characterDetails = {
  name: "Techup.co.in",
  desc: "Learn React-native application development"
};

function Home(props) {
  const { navigation } = props;

  return (
    <View style={styles.container}>
      <Text style={styles.text}>React-navigation 5.x example</Text>
      <TouchableOpacity
        style={styles.buttonContainer}
        onPress={() =>
          navigation.navigate("Detail", { item: characterDetails })
        }
      >
        <Text style={styles.buttonText}>Who is {characterDetails.name}?</Text>
      </TouchableOpacity>
    </View>
  );
}

const styles = StyleSheet.create({
  container: {
    flex: 1,
    justifyContent: "center",
    alignItems: "center",
    backgroundColor: "#ebebeb"
  },
  text: {
    color: "#101010",
    fontSize: 24,
    fontWeight: "bold"
  },
  buttonContainer: {
    backgroundColor: "#3e78f4",
    borderRadius: 5,
    padding: 10,
    margin: 20
  },
  buttonText: {
    fontSize: 20,
    color: "#fff"
  }
});

export default Home;
Create second screen Detail.js
import React from "react";
import { StyleSheet, View, Text } from "react-native";

function Detail(props) {
  const { route } = props;
  const { item } = route.params;
  const { name, home, desc } = item;
  return (
    <View style={styles.container}>
      <Text style={styles.text}>Detail Screen</Text>
      <View style={styles.card}>
        <Text style={styles.cardText}>Name: {name}</Text>
        <Text style={styles.cardText}>{desc}</Text>
      </View>
    </View>
  );
}

const styles = StyleSheet.create({
  container: {
    flex: 1,
    justifyContent: "center",
    alignItems: "center",
    backgroundColor: "#ebebeb"
  },
  text: {
    color: "#101010",
    fontSize: 24,
    fontWeight: "bold"
  },
  card: {
    width: 350,
    height: 100,
    borderRadius: 10,
    backgroundColor: "#3e78f4",
    margin: 10,
    padding: 10,
    alignItems: "center"
  },
  cardText: {
    fontSize: 18,
    color: "#FFFFFF",
    marginBottom: 5,
    textAlign: "center"
  }
});

export default Detail;
4. Create Stack Navigator
Create MainStackNavigator.js and add the following code to it. we have to import both screens which we had created before and pass these screens to stack navigator. also, we have added style to the stack navigator using screenOptions. also, you can add different styles to different screens in the stack.screen
import * as React from "react";
import { Text, View, Button } from "react-native";
import { NavigationContainer } from "@react-navigation/native";
import { createStackNavigator } from "@react-navigation/stack";

import Home from "../screens/Home";
import Detail from "../screens/Detail";

const Stack = createStackNavigator();


function MainStackNavigator() {
  return (
    <NavigationContainer>
      <Stack.Navigator
        initialRouteName="Home"
        screenOptions={{
          gestureEnabled: true,
          headerStyle: {
            backgroundColor: "#3e78f4"
          },
          headerTitleStyle: {
            fontWeight: "bold"
          },
          headerTintColor: "#FFFFFF"
        }}
      >
        <Stack.Screen
          name="Home"
          component={Home}
          options={{ title: "Home Screen" }}
        />
        <Stack.Screen
          name="Detail"
          component={Detail}
          options={({ route }) => ({
            title: route.params.item.name
          })}
        />

      </Stack.Navigator>
    </NavigationContainer>
  );
}

export default MainStackNavigator;
5. React-navigation 5.0 header onPress
Inside your function get navigation from props and set options to navigation using navigation.setOptions using React.useLayoutEffect. I have added the Right header text using headerRight in setOptions like below, other navigation props are the same as the previous versions of react navigationOptions
const { navigation } = props;

  React.useLayoutEffect(() => {
    navigation.setOptions({
      headerRight: () => (
        <TouchableOpacity
          onPress={() =>
            navigation.navigate("Detail", { item: characterDetails })
          }
        >
          <Text style={{ color: "#FFFFFF", paddingHorizontal: 15 }}>
            Go to Details
          </Text>
        </TouchableOpacity>
      )
    });
  }, [navigation]);
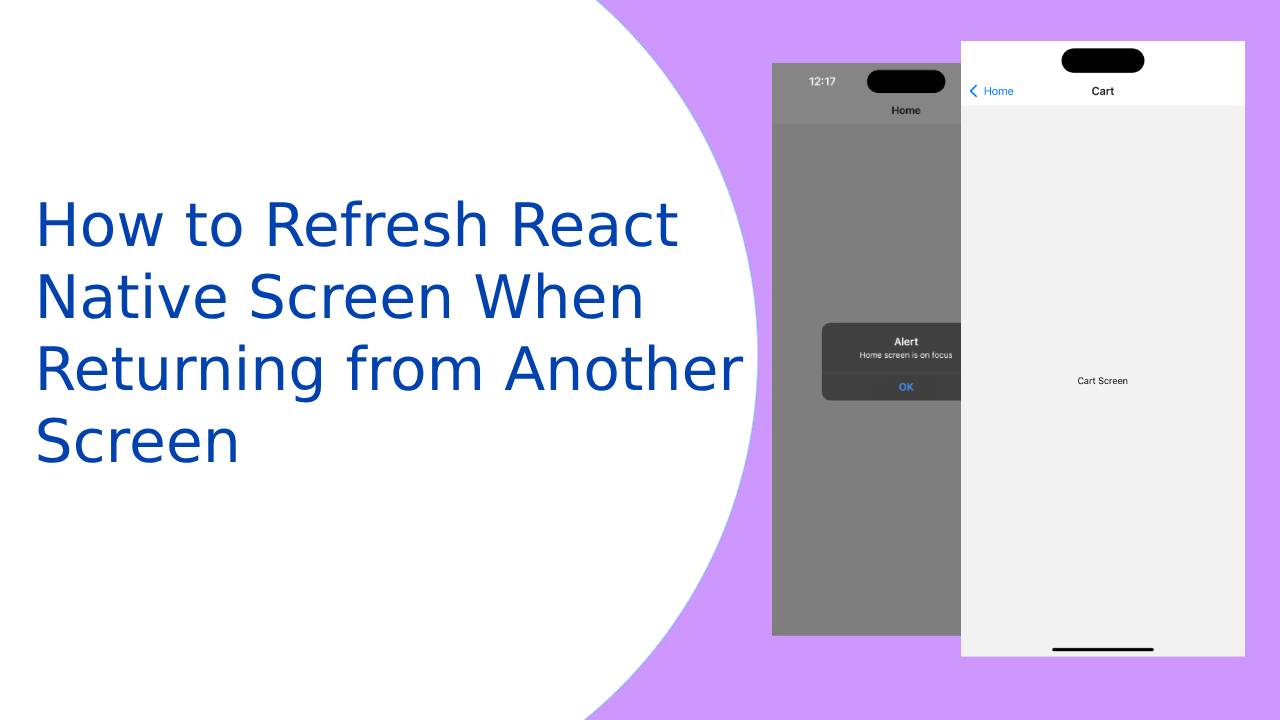
6. Output
Here’s is the output for How to add on click React-navigation 5.0 header react native
Thank you 🙂