In this article, we will learn about How to upload file to Server with From Data in React native. we are going to use React native Fetch request to send the file to the server. and we are using Form data to upload files to the server. it is better to use Form Data instead of using Third-party dependencies in the project. so in this example, we are going to select an image from the device & upload the image using FromData to the server.
- First, we are using react-native-image-crop-picker dependency to select image from the device.
- Save imageUri in setState.
- Pass imageUri to Fetch request using FormData.
Let’s start with an example,
1. Create a new project
Install react-native-cli using the following command in terminal to install react-native cli
npm install -g react-native-cli
Create a new project
react-native init projectName
2. Install the following dependency
Install dependency to select an image from device
npm i react-native-image-crop-picker --save
Note: You can use any other dependency for the file picker
3. Import the following components
import React, { Component } from "react";
import {
  Platform,
  StyleSheet,
  Text,
  View,
  TouchableOpacity,
  Alert,
  Platform
} from "react-native";
import ImagePicker from "react-native-image-crop-picker";
4. Create constructor to set State
Define selectedImgaeUri in state
 constructor() {
    super();
    this.state = {
      imageUri: null
    };
  }
5. Select image URL
Here’s the function to select an image using react-native-image-crop-picker and save imageUri in the state.
pickImage = () => {
    ImagePicker.openPicker({
      width: 300,
      height: 400,
      cropping: true
    }).then(image => {
      console.log(image);
      this.setState({ imageUri: image });
    });
  };
6. API call to upload file
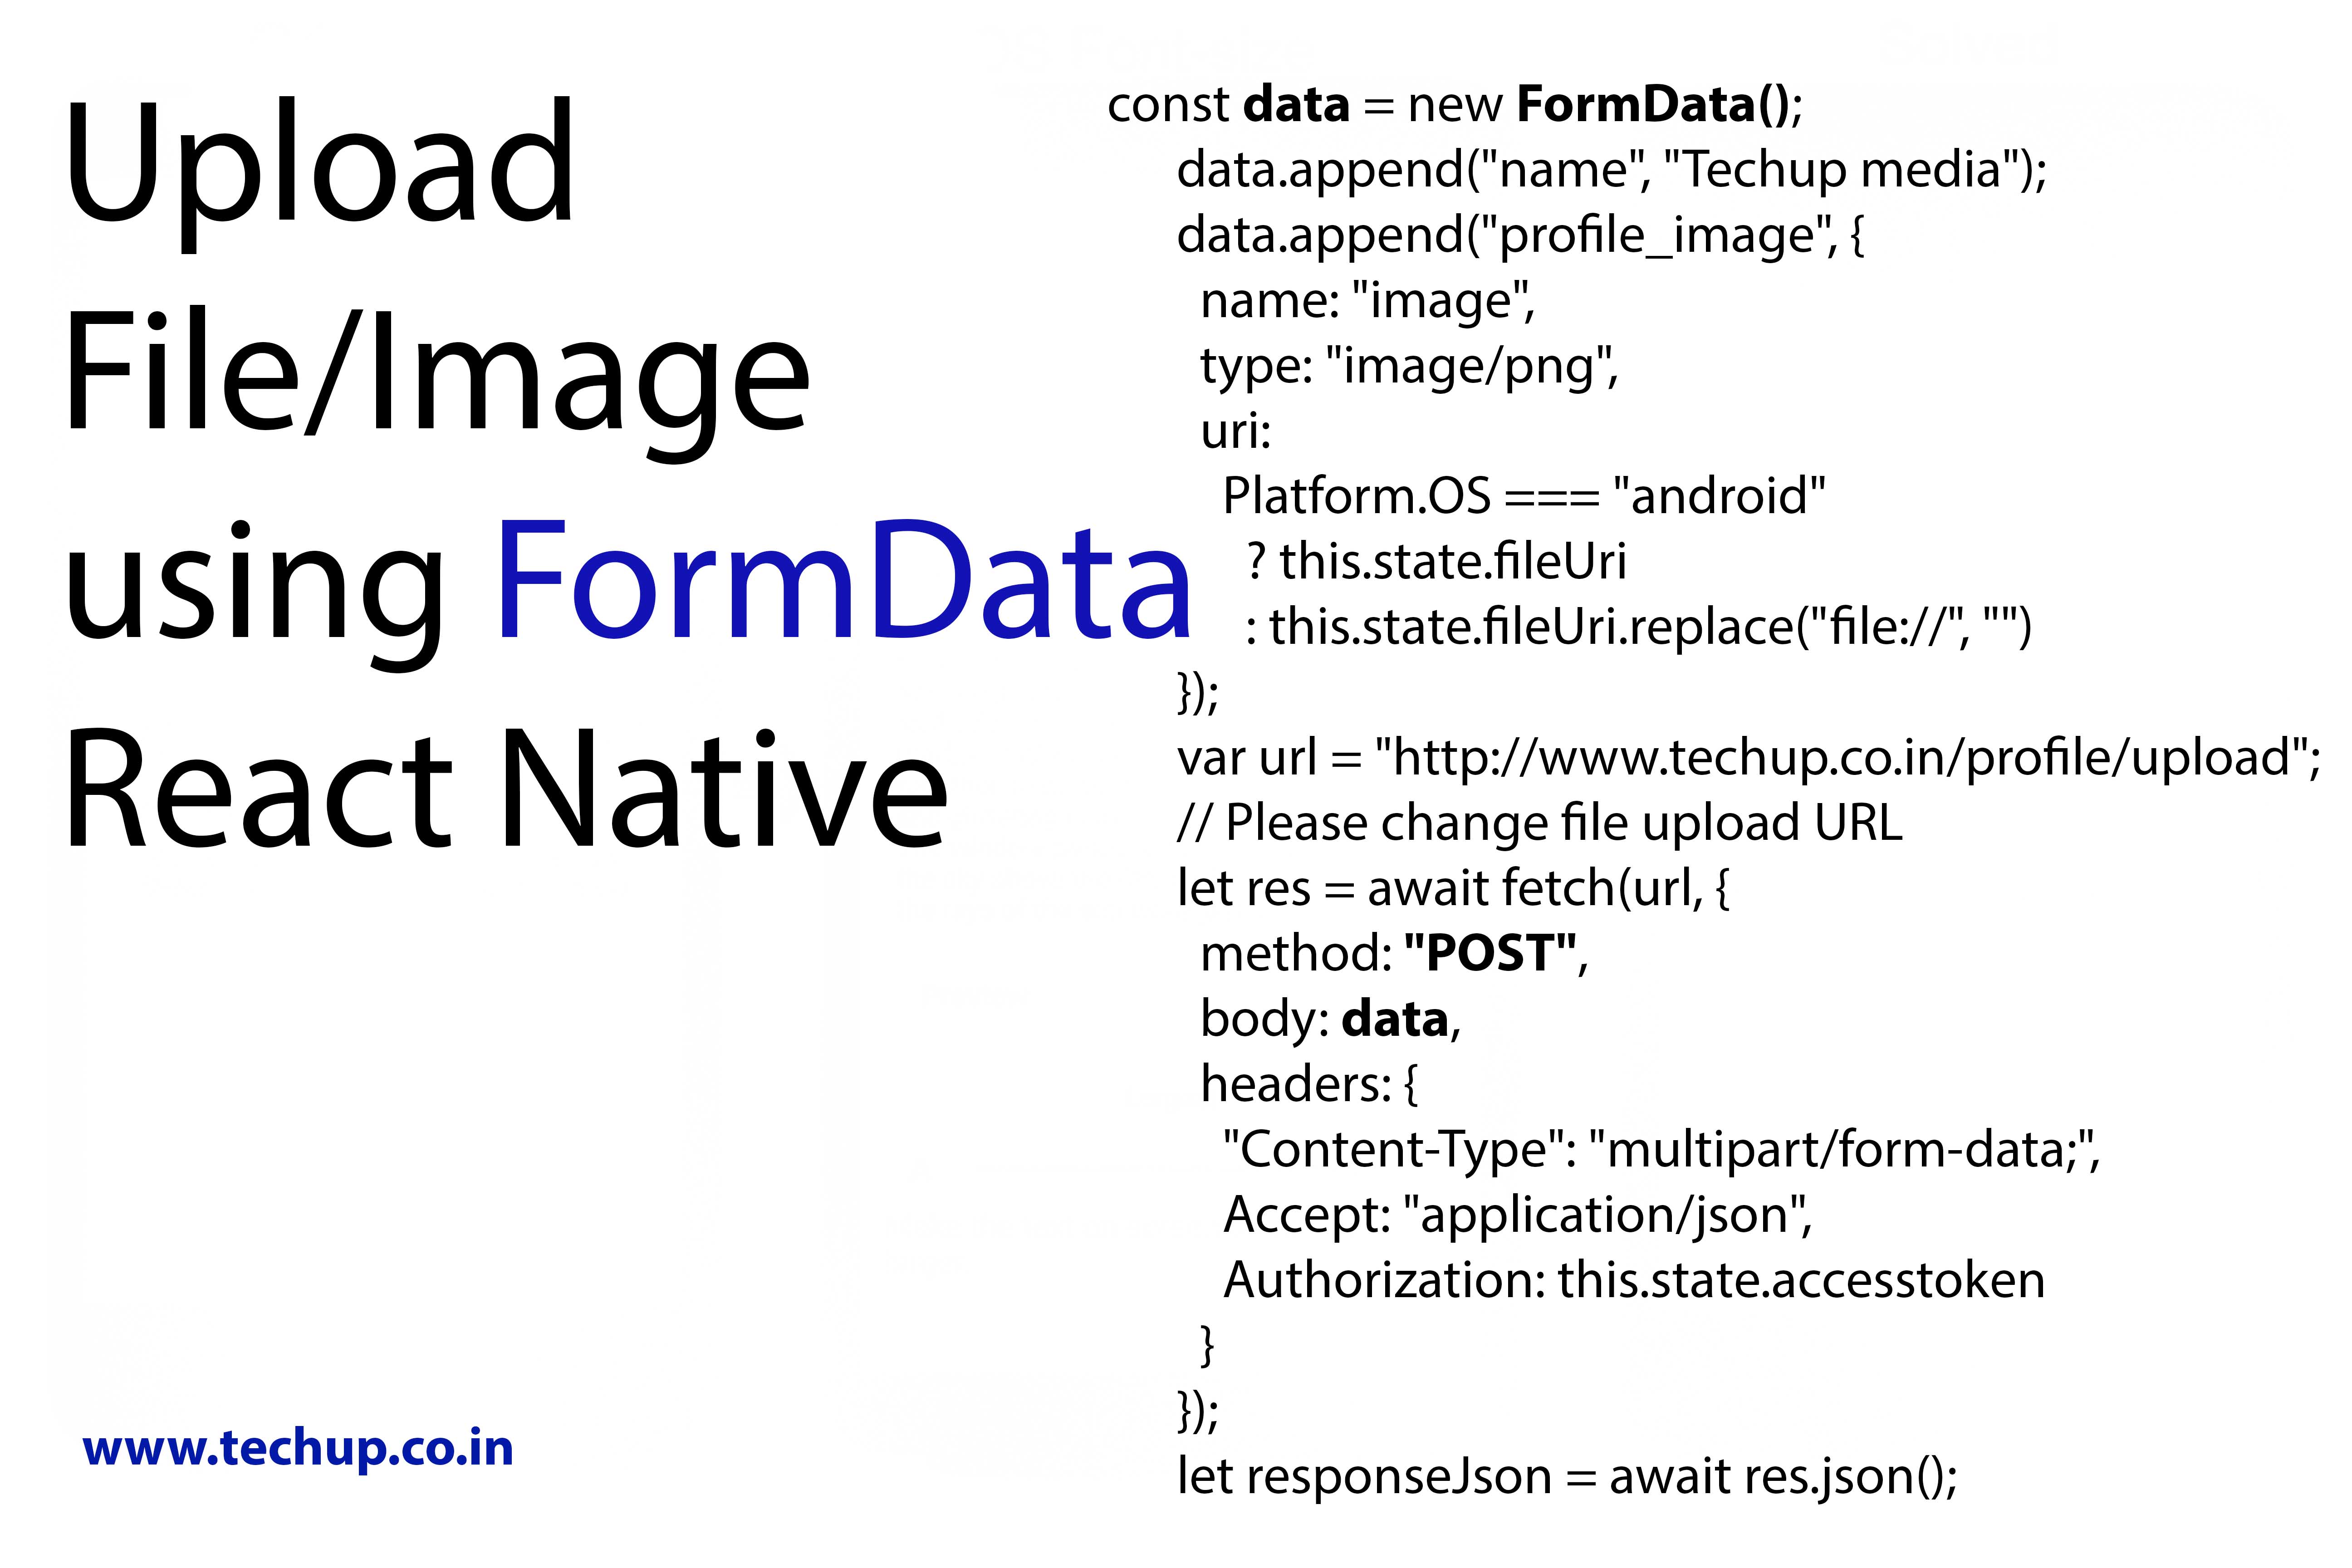
Create an async function to upload the image to the server & use fetch request with FormData to pass the image, also we have to pass the name & type of file in FormData.
 uploadImage = async () => {
    // Check selected image is not null
    if (this.state.imageUri != null) {

      const selectedImage = this.state.imageUri;
      console.log("+++++ selected url "+selectedImage);
      // Create FormData
      const data = new FormData();
      data.append("name", "Techup media");
      data.append("profile_image", {
        name: "image",
        type: "image/png",
        uri:
          Platform.OS === "android"
            ? this.state.fileUri
            : this.state.fileUri.replace("file://", "")
      });
      // Change file upload URL
      var url = "https://www.techup.co.in/profile/upload";

      let res = await fetch(url, {
        method: "POST",
        body: data,
        headers: {
          "Content-Type": "multipart/form-data",
          Accept: "application/json",
          Authorization: this.state.accesstoken
        }
      });
      let responseJson = await res.json();
      if (responseJson.status.response == "success") {
        Alert.alert("Profile picture updated Successful");
      }else{
        Alert.alert("Something went wrong, please try again");
      }
    } else {
      // Validation Alert
      Alert.alert("Please Select image first");
    }
  };
7. Source code (App.js)
/**
 * Sample React Native App
 * https://github.com/facebook/react-native
 * https://www.techup.co.in/how-to-upload-file-to-server-with-from-data-in-react-native/
 * @format
 * @flow
 */

import React, { Component } from "react";
import {
  Platform,
  StyleSheet,
  Text,
  View,
  TouchableOpacity,
  Alert,
  Platform
} from "react-native";
import ImagePicker from "react-native-image-crop-picker";

export default class App extends Component {
  constructor() {
    super();
    this.state = {
      imageUri: null
    };
  }

  uploadImage = async () => {
    // Check selected image is not null
    if (this.state.imageUri != null) {

      const selectedImage = this.state.imageUri;
      console.log("+++++ selected url "+selectedImage);
      const data = new FormData();
      data.append("name", "Techup media");
      data.append("profile_image", {
        name: "image",
        type: "image/png",
        uri:
          Platform.OS === "android"
            ? this.state.fileUri
            : this.state.fileUri.replace("file://", "")
      });
      // Change file upload URL
      var url = "https://www.techup.co.in/profile/upload";

      let res = await fetch(url, {
        method: "POST",
        body: data,
        headers: {
          "Content-Type": "multipart/form-data",
          Accept: "application/json",
          Authorization: this.state.accesstoken
        }
      });
      let responseJson = await res.json();
      if (responseJson.status.response == "success") {
        Alert.alert("Profile picture updated Successful");
      }else{
        Alert.alert("Something went wrong, please try again");
      }
    } else {
      // Validation Alert
      Alert.alert("Please Select image first");
    }
  };

  pickImage = () => {
    ImagePicker.openPicker({
      width: 300,
      height: 400,
      cropping: true
    }).then(image => {
      console.log(image);
      this.setState({ imageUri: image });
    });
  };

  render() {
    return (
      <View style={styles.container}>
        <TouchableOpacity onPress={() => this.pickImage}>
          <Text style={styles.welcome}>Select Image</Text>
        </TouchableOpacity>
        <TouchableOpacity onPress={() => this.uploadImage}>
          <Text style={styles.welcome}>Upload Image</Text>
        </TouchableOpacity>
      </View>
    );
  }
}

const styles = StyleSheet.create({
  container: {
    flex: 1,
    justifyContent: "center",
    alignItems: "center",
    backgroundColor: "#F5FCFF"
  },
  welcome: {
    fontSize: 20,
    textAlign: "center",
    margin: 10
  },
  instructions: {
    textAlign: "center",
    color: "#333333",
    marginBottom: 5
  }
});
Thank you 🙂


