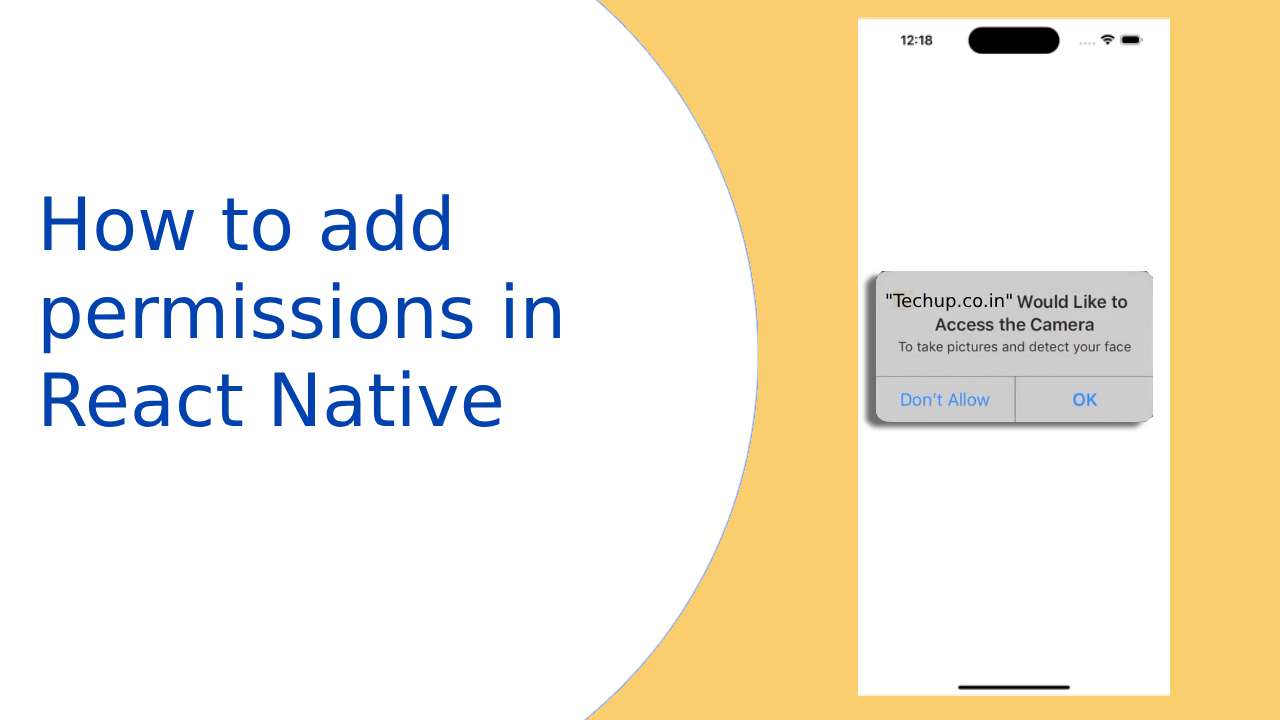
When building mobile applications with React Native, it’s important to request and handle permissions to access certain device features, such as the camera, microphone, or location services. In this article, we will explore how to add permissions in React Native and provide a seamless user experience while ensuring the app’s functionality.
1. Understand the Permission System in React Native
Before diving into the implementation, it’s crucial to understand how permissions work in React Native. Permissions are typically categorized into two types: iOS and Android permissions. iOS uses a permission system called Info.plist while Android relies on AndroidManifest.xml to handle permissions. It Provides a cross-platform API to request and check permissions for both operating systems.
2. Install the Required Dependencies
You need to install the following package. This package provides a unified API to request and check permissions for both iOS and Android platforms. Open your project directory in the terminal and run the following command
npm install react-native-permissions
3. Import the necessary modules and define permission requests
Import the required modules and define the permissions you want to request. Here’s an example of requesting camera and microphone permissions
import { Platform } from 'react-native';
import { PERMISSIONS, request } from 'react-native-permissions';

const CAMERA_PERMISSION = Platform.select({
  ios: PERMISSIONS.IOS.CAMERA,
  android: PERMISSIONS.ANDROID.CAMERA,
});

const MICROPHONE_PERMISSION = Platform.select({
  ios: PERMISSIONS.IOS.MICROPHONE,
  android: PERMISSIONS.ANDROID.RECORD_AUDIO,
});
4. Requesting Permissions in React Native
To request permissions from the user, you can use the request function provided by the react-native-permissions package. Here’s an example of how to request camera and microphone permissions
const requestPermissions = async () => {
  try {
    const cameraStatus = await request(CAMERA_PERMISSION);
    const microphoneStatus = await request(MICROPHONE_PERMISSION);

    // Handle the permission status responses
    console.log('Camera Permission:', cameraStatus);
    console.log('Microphone Permission:', microphoneStatus);

    // Perform actions based on the permission status
    if (cameraStatus === 'granted' && microphoneStatus === 'granted') {
      // Proceed with using camera and microphone
    } else {
      // Handle denied or restricted permissions
    }
  } catch (error) {
    // Handle error in permission request
    console.error('Permission Request Error:', error);
  }
};
5. Handle Permission Responses
The request function returns a promise that resolves to a permission status string, such as granted, denied, blocked, or unavailable. Based on the permission status, you can handle the user’s response accordingly. In the example above, we log the permission status for demonstration purposes, but you can customize the logic based on your application’s requirements.
By following the steps outlined above, you can effectively request and handle permissions for various device features.
Thank you. Happy coding 🙂


