
Hi Guys, In this article, We are going to learn about How to implement Auto-Fetch OTP in React Native for Android and iOS. we’ll explore how to simplify the process of entering one-time passwords (OTPs) in a React Native application. We’ll achieve this by using the react-native-confirmation-code-field package for iOS and the react-native-otp-verify package for Android. By streamlining the OTP input, we’ll significantly enhance the user experience. Additionally, for Android, we’ll mention the hash code that needs to be added to the end of the OTP message.
Before we start, ensure that you have a basic understanding of React Native and that your development environment is set up. check this article to learn the basics of React Native setup
1. Installing the Required Dependencies
We’ll start by installing the necessary packages.
npm install react-native-confirmation-code-field react-native-otp-verify
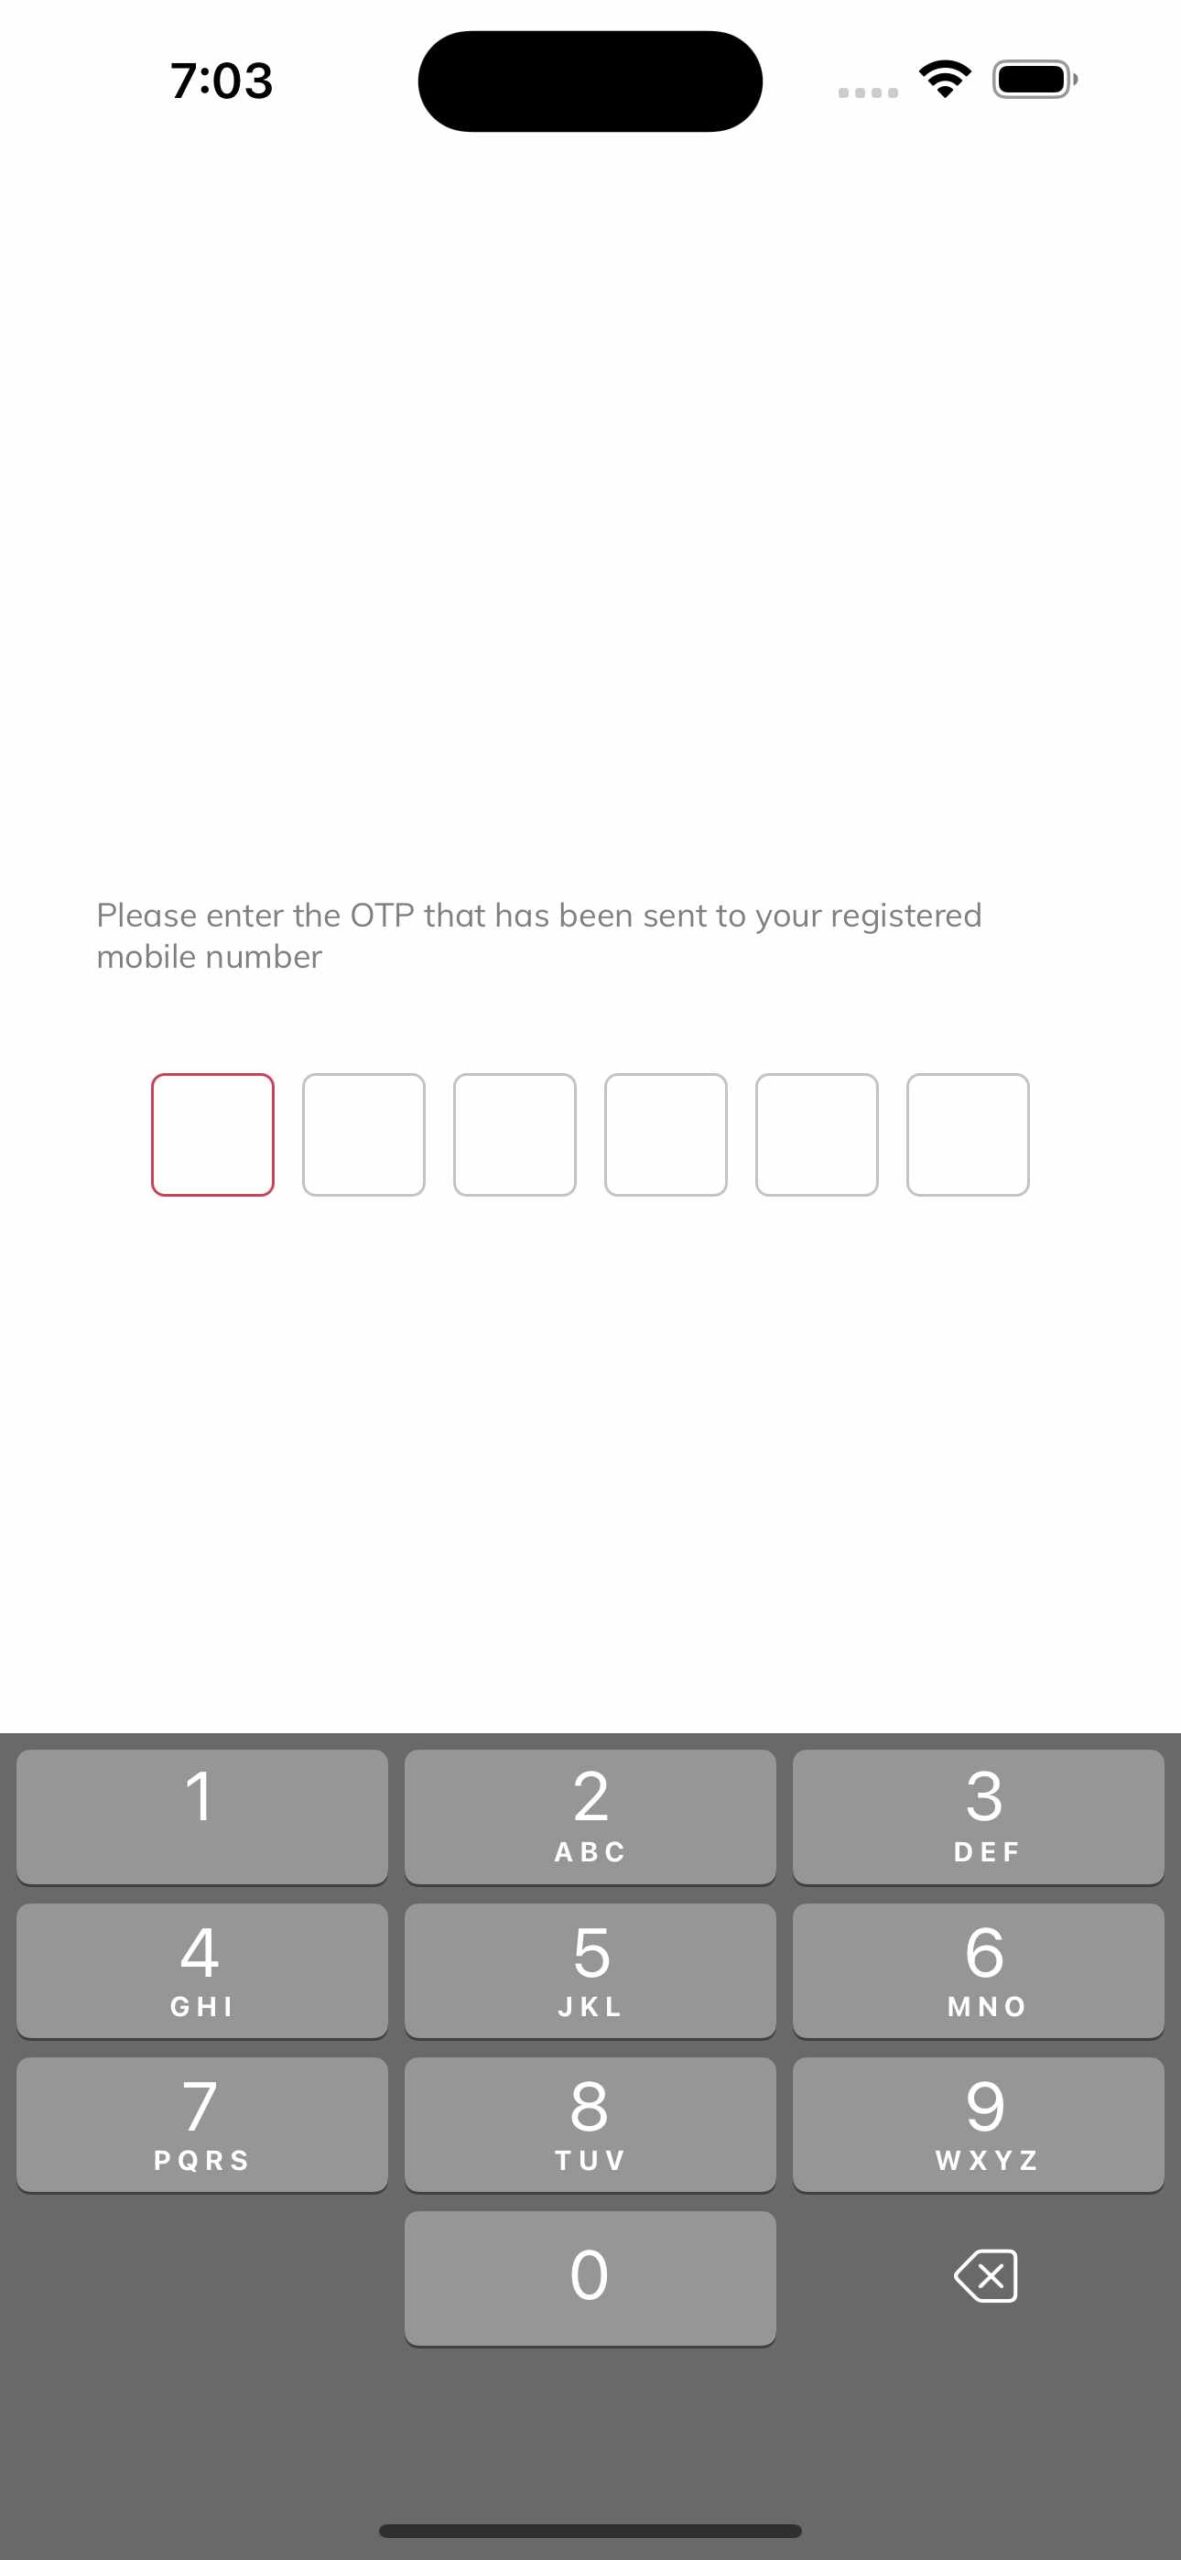
2. Implementing the OTP Input Field (iOS)
Now, let’s create a simple OTP input field using the react-native-confirmation-code-field component.
import React, { useState } from 'react';
import { View, Text } from 'react-native';
import { CodeField, Cursor } from 'react-native-confirmation-code-field';

const CELL_COUNT = 6; // Change to the desired OTP length

const OTPInputFieldIOS = () => {
  const [otp, setOtp] = useState('');

  return (
    <View>
      <Text>Please enter the OTP that has been sent to yout registered mobile number</Text>
      <CodeField
        value={otp}
        onChangeText={setOtp}
        cellCount={CELL_COUNT}
        rootStyle={{ borderColor: 'gray', borderBottomWidth: 1 }}
        keyboardType="number-pad"
        textContentType="oneTimeCode"
        renderCell={({ index, symbol, isFocused }) => (
          <Text
            key={index}
            style={[
              { borderColor: 'gray', borderBottomWidth: 1 },
              isFocused && { borderColor: 'blue' },
            ]}
          >
            {symbol || (isFocused ? <Cursor /> : null)}
          </Text>
        )}
      />
      {otp.length === CELL_COUNT && (
        <Text>Entered OTP: {otp}</Text>
      )}
    </View>
  );
};

export default OTPInputFieldIOS;
3. Implementing OTP Verification for Android
For Android, we’ll use the react-native-otp-verify package. It requires a hash code to be added at the end of the OTP message. Make sure to replace YOUR_HASH_CODE with the actual hash code provided by your OTP service.
import React, { useState, useEffect } from 'react';
import { View, Text, Platform } from 'react-native';
import OTPInputFieldIOS from './OTPInputFieldIOS';
import { CodeField, Cursor } from 'react-native-confirmation-code-field';
import OTPVerify from 'react-native-otp-verify';

const CELL_COUNT = 6; // Change to the desired OTP length
const HASH_CODE = 'YOUR_HASH_CODE'; // Replace with the actual hash code

const OTPInputFieldAndroid = () => {
  const [otp, setOtp] = useState('');

  useEffect(() => {
    if (Platform.OS === 'android') {
      OTPVerify.getHash().then(hash => {
        OTPVerify.addListener(hash, message => {
          if (message) {
            // Extract OTP from the message and set it
            setOtp(extractOTPFromMessage(message));
          }
        });
      });
    }
    return () => {
      // Clean up OTPVerify listener
      OTPVerify.removeListener(HASH_CODE);
    };
  }, []);

  // Extract OTP from the SMS message
  const extractOTPFromMessage = (message) => {
    // Implement logic to extract OTP from the message
  };

  return (
    <View>
      <Text>Please enter the OTP that has been sent to yout registered mobile number</Text>
      <CodeField
        value={otp}
        onChangeText={setOtp}
        cellCount={CELL_COUNT}
        rootStyle={{ borderColor: 'gray', borderBottomWidth: 1 }}
        keyboardType="number-pad"
        textContentType="oneTimeCode"
        renderCell={({ index, symbol, isFocused }) => (
          <Text
            key={index}
            style={[
              { borderColor: 'gray', borderBottomWidth: 1 },
              isFocused && { borderColor: 'blue' },
            ]}
          >
            {symbol || (isFocused ? <Cursor /> : null)}
          </Text>
        )}
      />
      {otp.length === CELL_COUNT && (
        <Text>Entered OTP: {otp}</Text>
      )}
    </View>
  );
};

export default OTPInputFieldAndroid;
4. Using the OTP Input Fields
Now you can use the OTPInputFieldIOS and OTPInputFieldAndroid components in your main application file. This approach enhances the user experience and ensures a smooth and error-free process for entering one-time passwords. You can further customize the appearance and behavior of the OTP input field based on your app’s design and requirements.
Make sure to handle the extraction of OTP from the SMS message according to the format used by your OTP service. Additionally, make sure to replace YOUR_HASH_CODE in the OTPInputFieldAndroid component with the actual hash code provided by your OTP service for Android.
import React from 'react';
import { View, StyleSheet } from 'react-native';
import OTPInputFieldIOS from './OTPInputFieldIOS';
import OTPInputFieldAndroid from './OTPInputFieldAndroid';

const App = () => {
  return (
    <View style={styles.container}>
      {/* Use OTPInputFieldIOS for iOS */}
      <OTPInputFieldIOS />

      {/* Use OTPInputFieldAndroid for Android */}
      <OTPInputFieldAndroid />
    </View>
  );
};

const styles = StyleSheet.create({
  container: {
    flex: 1,
    justifyContent: 'center',
    alignItems: 'center',
  },
});

export default App;
5. Output
Thank you 🙂